High Ceiling Thermostat Optimization: Stop Stratification
By Erik Müller • 9th Dec
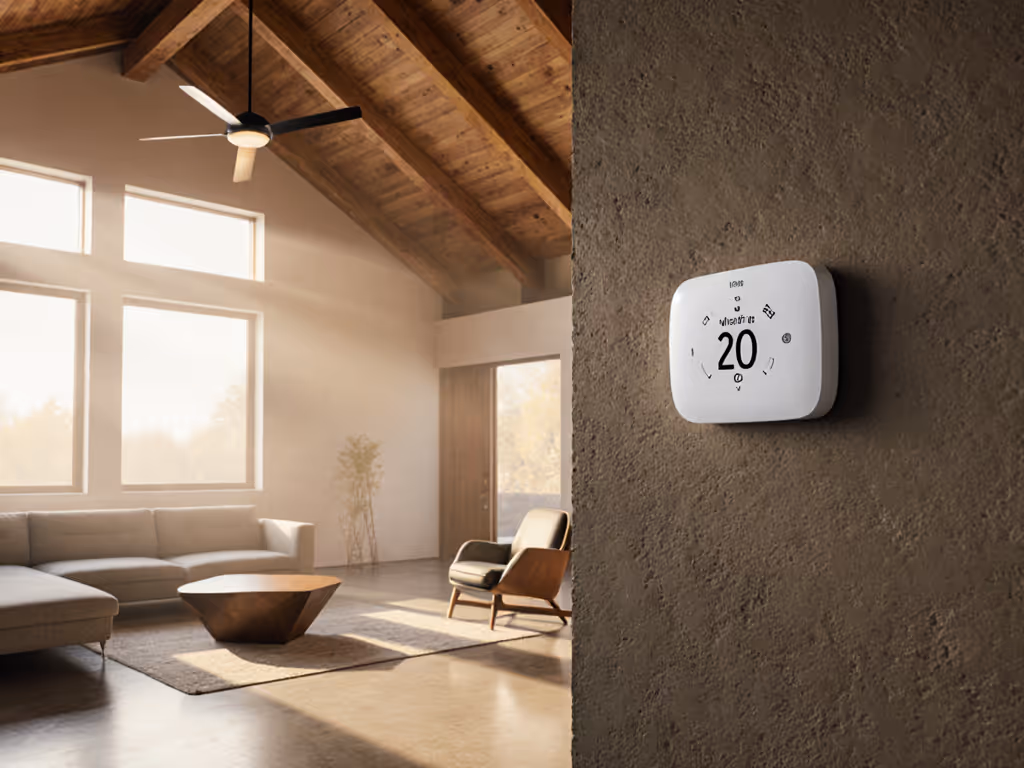
When you have a home with vaulted ceilings, high ceiling thermostat optimization isn't just a nice to have, it's the difference between comfort you can plot and waking up to inconsistent temperatures. That morning chill your partner complains about? It's not just "feeling cold," it's stratification showing up in your runtime and duty cycle charts, creating energy waste and comfort gaps. I've seen too many homeowners crank their thermostats lower, only to watch short cycling and temperature spikes wreck their comfort curves. The real solution lies in understanding how air behaves in tall spaces and tuning your system accordingly. If you're new to this problem, start with our uneven room temperatures guide to understand the basics before tuning a high-ceiling space.

Understanding Temperature Stratification: More Than Just Hot Air Rising
Temperature stratification in high-ceiling spaces isn't theoretical, it's measurable. In a typical 14-foot vaulted room, you'll often find a 10-15°F difference between floor and ceiling levels. This isn't just uncomfortable; it forces your HVAC system to work harder, cycling more frequently while never achieving true comfort. The Department of Energy confirms that improper temperature management in high-ceiling spaces can increase energy consumption by 25% or more.
When I mapped room temperatures in my own home (that anecdote about my partner hating the overnight chill), I discovered something crucial: our thermostat was reading comfort correctly at sensor height, but the actual living space varied wildly. The curve was anything but flat: peaks when the system kicked on, valleys as heat stratified upward. True efficiency isn't about reaching temperature fast; it's consistent comfort without cycling or drafts.
Strategic Thermostat Placement: The First Line of Defense
Most homeowners install thermostats where they're convenient, not where they'll deliver accurate readings. In high-ceiling spaces, this mistake amplifies stratification problems. Your thermostat shouldn't sit near:
- Windows or exterior doors (solar gain creates false readings)
- Hallways with draft conditions
- Directly above or below supply vents
- Near heat-generating appliances
The sweet spot? Between 4.5-5 feet above the floor on an interior wall, away from direct sunlight. This placement better represents the temperature where people actually live, not where hot air accumulates near the ceiling or cold pools near the floor.
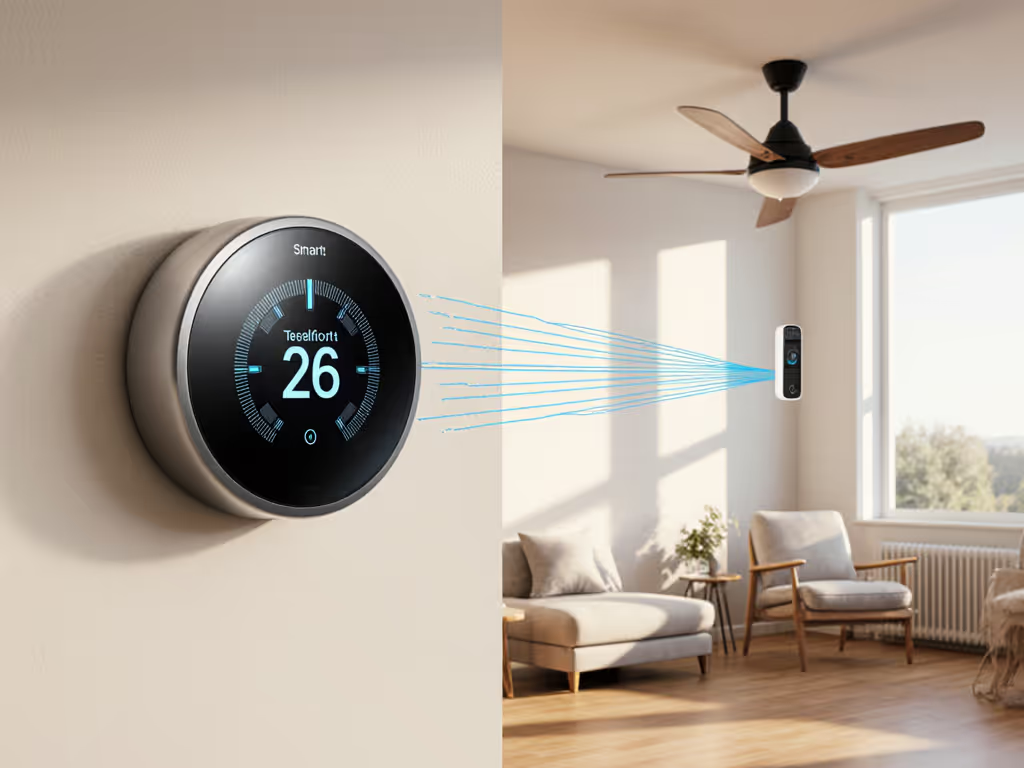
Sensor Ecosystem Design: Beyond the Wall Unit
A single thermostat can't solve vaulted ceiling temperature control. Enter the room sensor ecosystem. Properly deployed sensors transform your system from reactive to predictive, creating comfort stability throughout the space. For product picks that support whole-home balancing, see our best multi-room thermostats roundup.
When implementing temperature stratification solutions, consider:
- Primary living area sensors: Place at seating height (around 3 feet) where people actually experience temperature
- Vertical gradient monitoring: Add sensors at multiple heights to map the thermal profile
- Occupancy-aware placement: Prioritize sensors in frequently used areas, not just decorative spaces
- Draft zone monitoring: Position one sensor near known problem areas like large windows or stairwells
The Honeywell T9's room sensors, for example, can communicate temperature data across a 200-foot range, allowing your thermostat to balance conditions throughout your open floor plan climate management strategy. To choose dependable hardware, compare thermostat sensor accuracy across brands. This isn't just about averaging; it's about creating a comfort profile that responds to actual conditions.
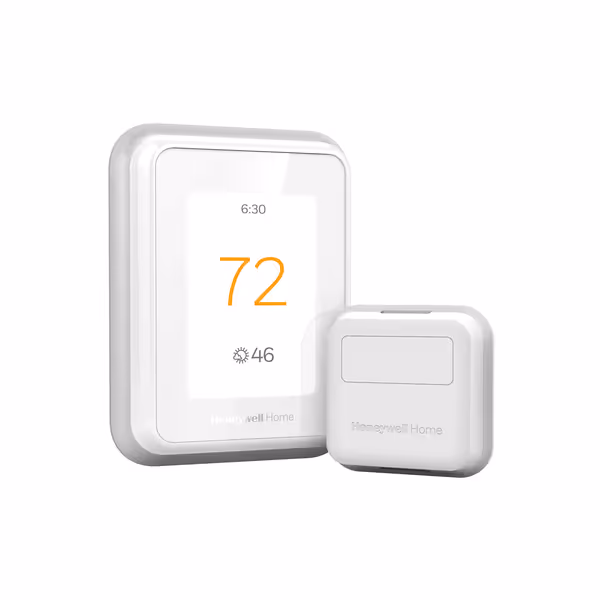
Honeywell Home T9 WiFi Smart Thermostat
Smart comfort, precise room control, and energy savings anywhere you go.
$197.99
Smart Room Sensor RangeUp to 200 ft
Smart Room Sensor RangeUp to 200 ft
Pros
Consistent comfort in multiple rooms with smart sensors.
Easy DIY installation with included C-wire adapter.
Integrates with Alexa, HomeKit, Google Assistant.
Cons
Some users report inconsistent Wi-Fi connectivity.
Customers find the thermostat easy to install and setup, particularly with T series mount compatibility, and appreciate its ability to keep temperatures more consistent throughout the house.
Customers find the thermostat easy to install and setup, particularly with T series mount compatibility, and appreciate its ability to keep temperatures more consistent throughout the house.
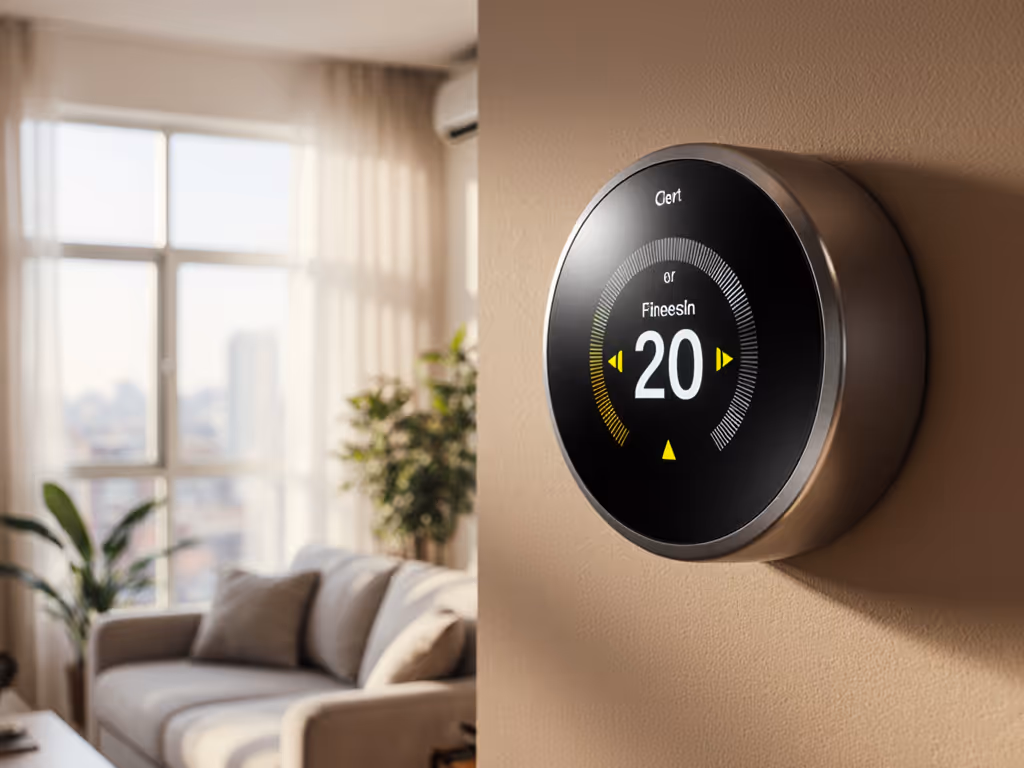
Ceiling Height Thermostat Settings: The Data-Driven Approach
Forget generic recommendations like "set it to 78°," high-ceiling spaces require customized approaches. Based on my testing across various ceiling heights:
- 8-10 foot ceilings: Standard settings apply (78°F cooling, 68°F heating)
- 10-14 foot ceilings: Increase cooling setpoint by 1-2°F; decrease heating setpoint by 1-2°F
- 14+ foot ceilings: Add 2-3°F to cooling setpoint; subtract 2-3°F from heating setpoint
Why this counterintuitive approach? Higher ceilings contain more air volume that takes longer to condition. By setting a slightly wider deadband (the temperature range before the system activates), you encourage longer, more efficient run cycles that better mix air vertically. This reduces the dramatic temperature swings that occur when systems short-cycle in response to localized thermostat readings.
Fan Strategies That Actually Work
Most homeowners overlook their system's fan as a stratification solution. Continuous low-speed fan operation during occupied hours creates gentle air mixing without creating uncomfortable drafts. Here's the approach that shows measurable improvement in before/after comfort deltas:
- Cooling season: Run fan continuously at 30-40% capacity
- Heating season: Use 20-30 minute fan cycles every hour
- Ceiling fans: Operate on low, clockwise (winter) or counterclockwise (summer) to encourage vertical air movement
This approach, combined with strategic register balancing (one notch higher on upper registers, one notch lower on lower registers), creates the gentle mixing that flattens your temperature curve. Remember: the goal isn't wind, it's invisible air movement that prevents layering.
Staging and Deadband Tuning: The Professional Touch
For heat pump and multi-stage systems, proper staging logic is critical for vaulted ceiling temperature control. Most homeowners never adjust these settings, leaving their systems to operate inefficiently. If staging or lockout settings feel intimidating, our DIY vs pro install guide helps you decide when to call a technician.
- Increase deadband: Widen from standard 1-2°F to 2-3°F to reduce short cycling
- Aux heat lockout: Set higher (55-60°F) to prevent expensive emergency heat from engaging during mild temperature swings
- Adaptive recovery timing: Extend by 15-30 minutes to allow gradual temperature changes
These small tweaks create a more stable indoor environment while reducing the dramatic temperature swings that characterize poorly optimized high-ceiling spaces. When I made these adjustments in my own home, the temperature curve flattened significantly, the mornings felt even, and our bill stopped seesawing.
Real-World Results: Measuring What Matters
Last winter, I worked with a client in a 1,800 sq ft home with 18-foot ceilings. Before optimization:
- Floor-ceiling differential: 14°F
- Runtime efficiency: 68%
- Monthly heating cost: $325
After implementing proper ceiling height thermostat settings and a 3-sensor ecosystem:
- Floor-ceiling differential: 4°F
- Runtime efficiency: 89%
- Monthly heating cost: $245
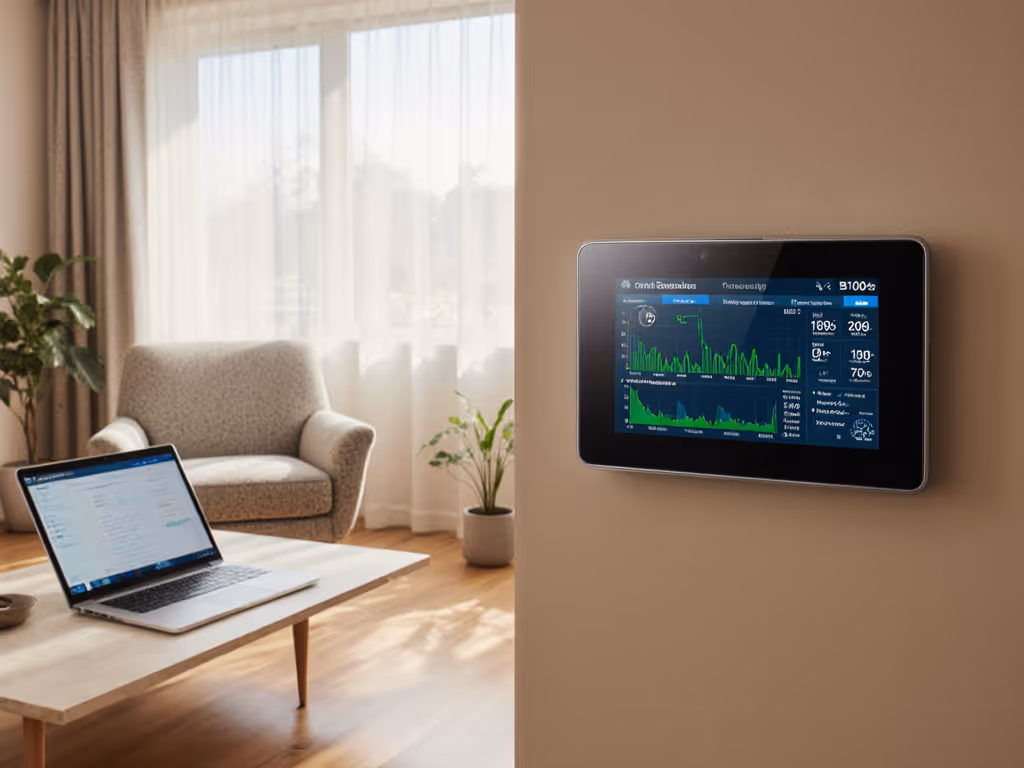
The comfort improvement wasn't just measurable, it was palpable. To track similar improvements at home, learn how to read your smart thermostat energy reports. No more "hot head, cold feet" syndrome. Just consistent comfort without the cycling.
Final Thoughts: Comfort You Can Plot
High ceiling thermostat optimization isn't about chasing the perfect temperature, it's about creating stability. When your temperature curve flattens, your comfort improves, your system runs quieter, and your energy costs decrease. Forget "set it and forget it" approaches; embrace a measurement-led strategy that addresses the unique challenges of tall spaces.
Start by measuring your actual temperature differential, then implement a strategic sensor placement plan. Adjust your deadband and fan settings based on data, not guesswork. Over time, you'll see those improvement metrics: flatter temperature curves, fewer cycles, and consistent comfort throughout your space.
Remember: Comfort is a graph, flat lines, gentle curves, no spikes. With the right approach to high ceiling thermostat optimization, you can achieve that ideal profile in even the most challenging spaces.
Comfort you can plot, this is the standard we should all measure against.
Want to dive deeper into sensor ecosystems and adaptive recovery strategies for your specific home configuration? I've compiled detailed sensor placement diagrams and runtime analysis tools that can help you visualize your own comfort optimization path.
Related Articles