Smart Thermostats for Dorms: Best Budget Picks for Students
By Aiko Tanaka • 12th Apr
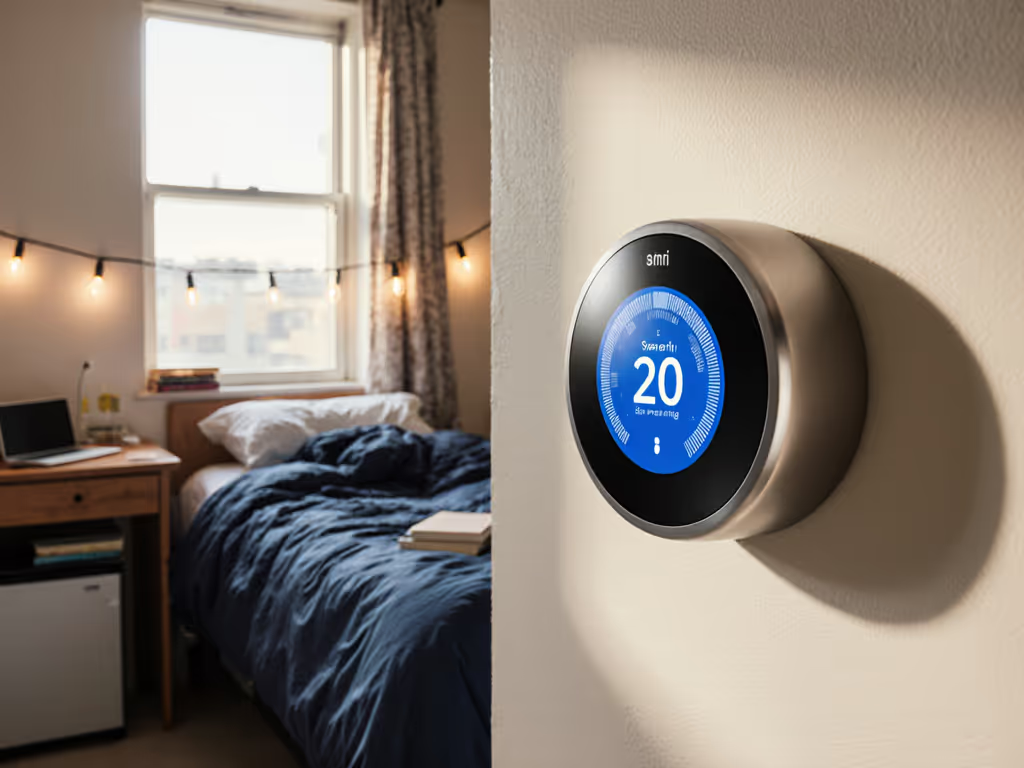
Student dorm thermostats and budget thermostats for college students present a unique challenge: renters typically have limited control over their environment, yet climate management profoundly affects study performance, sleep quality, and utility costs. For facility managers, property owners, and even students navigating rental restrictions, the right thermostat strategy balances affordability with reliability (especially when you can't depend on the internet).
This guide cuts through marketing noise and focuses on what actually matters: devices that work offline, integrate cleanly with platforms you already trust, and won't leave you shivering during an outage or a Wi-Fi dropout. For models that keep schedules and controls working without internet, see our offline-capable thermostat comparison. I've spent years designing comfort systems for homes where internet failures happen, and I learned early that local-first, cloud-optional approaches are non-negotiable. When a storm knocked out connectivity for two days, our schedules stayed live, sensors remained online, and prewarming kept the nursery stable. Meanwhile, neighbors' apps spun uselessly. That experience shaped how I evaluate every thermostat.
Why Dorm and Rental Thermostats Demand a Different Approach
Unlike homeowners who can replace systems freely, dorm residents and rental tenants face hard constraints: most can't modify wiring, can't install new sensors, and often have no authority over the HVAC equipment itself. Facility managers, by contrast, need remote oversight across dozens of units, real-time occupancy adjustment, and compliance with utility demand-response programs, all without sacrificing individual override control or privacy.
The tension is real. A thermostat must be:
- Installable without landlord approval (or already approved for rental retrofit)
- Reliably offline-capable so setpoints hold during network hiccups
- Budget-conscious without sacrificing safety or compatibility
- Privacy-respecting when occupancy data is collected
- Integrable with HomeKit, Google, or Alexa if you already use those ecosystems
- Failure-mode safe: defaults should never risk equipment damage
Commercial smart thermostats designed for student housing operators illustrate what's possible. These systems respond to real-time occupancy fluctuations, apply machine learning to heating and cooling schedules, and hand property teams remote access via smartphone apps. Individual residents can then customize settings in private units according to their own patterns, while common areas stay out of extreme heating or cooling when nobody is using them. The lesson: a properly designed system reduces energy waste and improves comfort simultaneously.
Yet most dorm residents don't have access to enterprise-grade controls. That's where mapping dependencies before buying becomes critical. For renter-friendly picks that avoid rewiring and landlord hassles, check our renter smart thermostat guide.
Dependency Diagrams: Know Your Limits Before You Shop
For Renters (Individual Dorm Units or Apartments):
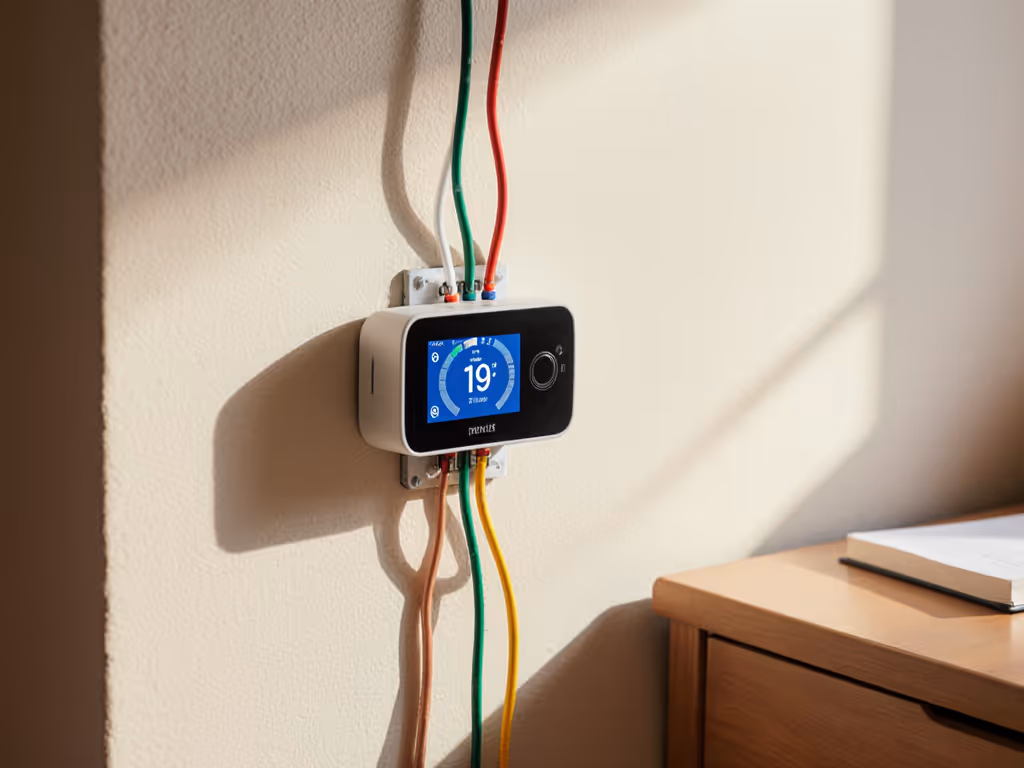
Your thermostat sits between the wall (where it connects to the building's HVAC) and your phone/voice assistant. If the internet dies, the wall connection must still work. If you can't modify wiring (no C-wire), the thermostat must run on battery or harvested power alone.
Key dependencies:
- Wiring availability: Do you have access to a C (common) wire, or must the unit work on two wires (heat/cool only, no batteries)?
- HVAC type: Is the building using forced-air (most common), hydronic radiant, or a heat pump? Rentals often hide this detail.
- WiFi resilience: Can the thermostat hold schedules locally if your dorm's guest network drops?
- Voice/app integration: Does it require an internet connection to respond to remote commands, or can it fall back to manual wall controls?
For Property Managers (Multi-Unit Oversight):
Your dependency map includes occupancy data streams, cloud dashboards, local override capability, and privacy guardrails. Decisions cascade:
- Occupancy sensors: Do they phone home constantly, or batch-upload? What happens if the cloud endpoint fails?
- Demand-response participation: Can the system enter a constrained mode without locking residents out of manual adjustments?
- Data residency: Does historical usage stay on-device, or does every minute of runtime upload to a third-party vendor?
Before shortlisting models, sketch these dependencies on paper (it clarifies which products are truly viable and which will disappoint after installation).
Local vs. Cloud Capability Table
Here's how budget-friendly options compare on the capabilities that matter most in rental and dorm environments:
| Feature | Local Control (No WiFi) | Offline Schedule Fallback | Multi-Platform (HomeKit/Google/Alexa) | Occupancy Sensor Built-in | Remote Override (Cloud-Dependent) |
|---|---|---|---|---|---|
| Basic Programmable + WiFi Bridge | Limited | Yes (mechanical backup) | Sometimes | No | Yes |
| Battery-Powered Smart (No C-wire) | Yes | Yes | Often | Optional add-on | Limited |
| Wired Smart (C-wire required) | Yes | Yes | Yes | No | Yes |
| Commercial Multi-Unit System | Yes | Yes | Yes (admin) | Yes | Yes |
Notice the trade-off: models that support HomeKit or Google typically require internet for initial setup and remote access, but their local scheduling logic remains intact even offline. Battery-powered options avoid wiring entirely but lose remote override if WiFi fails. There is no perfect choice; your constraint set determines the winner.
Budget Thermostat Archetypes for Students and Renters
1. Non-Programmable Smart Add-On: Lowest Barrier to Entry
Some thermostats are designed as a bridge between a dumb wall unit and a smartphone app. Advantages: zero wiring changes, landlord-friendly, renter-portable. Disadvantages: limited scheduling intelligence, heavy reliance on cloud for automation, and no guarantee of local fallback.
Use case: You're in a dorm with a basic wall thermostat and strict "no modifications" rules. You want remote visibility ("Is the AC on?") without complex scheduling.
Risk: If the vendor's app goes offline, you lose remote access entirely. The wall unit stays functional, but you're back to manual adjustments. Plan accordingly.
2. Battery-Powered Smart Thermostat (No C-wire)
These are the darlings of rental retrofits. They ship with lithium batteries, require no neutral wire, and work with forced-air systems (furnace + AC or heat pump). They typically support Google Home, Alexa, and sometimes HomeKit, with local scheduling baked into the device.
Advantages:
- Install in under an hour with no electrician
- Full local fallback: schedules run even if internet dies
- Most support demand-response participation (dorm or building level)
- Battery life often spans 2-3 years
Disadvantages:
- Battery replacement cost and hassle (usually $20-50 per set)
- No access to C-wire power means fewer sensing inputs and no humidifier control
- Cloud-side remote access may lag or fail briefly
- Not suitable for heat-only or cooling-only zones (dual-fuel edge cases are tricky)
Budget range: $150-300 for a quality unit. Many property managers buy these in bulk for turnover units because they're tenant-agnostic and require minimal landlord coordination.
3. Wired Smart Thermostat (C-wire Available)
If the building's wiring already includes a fifth wire (common/C), or if you can run one, a wired thermostat unlocks more capability: direct power, room sensors, humidity control, and deeper HVAC logic. These are common in newer dorms or recently renovated apartments.
Advantages:
- Reliable power (no battery anxiety)
- Compatible with advanced room sensors and humidity control
- Typically richer local scheduling and occupancy awareness
- Often cheaper per unit than battery models
Disadvantages:
- Requires running wire through walls or conduit (often not an option in rentals)
- Landlord approval necessary
- If the C-wire is miswired, thermostat damage or HVAC faults can occur
Budget range: $80-250 for the thermostat, plus $200-500+ for professional wiring if needed.
Platform Integration: HomeKit, Matter, Google, and Alexa
Budget thermostats cluster around ecosystem preferences. Here's the landscape:
Google Home / Alexa dominance: Most affordable models prioritize Google Assistant or Amazon Alexa integration. Voice control is fast, and many integrate with occupancy sensors or Hubitat Elevation (local hub). Downside: data flows through cloud servers, and local override may require additional setup.
HomeKit (Apple) leadership in privacy: HomeKit-certified thermostats encrypt all data end-to-end and store automations locally on an Apple TV, HomePod mini, or iPad. For dorm residents in North America, this is the strongest choice for offline reliability. Downside: fewer budget options; most HomeKit thermostats start at $200+.
Matter/Thread future-proofing: Thread mesh networking means your thermostat doesn't rely on WiFi (it hops to nearby Thread-enabled devices). Matter certification ensures interoperability: a Matter thermostat works with HomeKit, Google, and Alexa from day one. Before you buy, review our Matter thermostat checklist to confirm real-world compatibility and upgrade paths. Budget Thread/Matter thermostats are emerging (2025-2026 releases), but today, options are limited and pricey.
Recommendation for renters: If your dorm or building already mandates Google or Alexa, use that. If you have flexibility, prioritize HomeKit or a Thread device for offline resilience. Avoid single-vendor lock-in if possible.
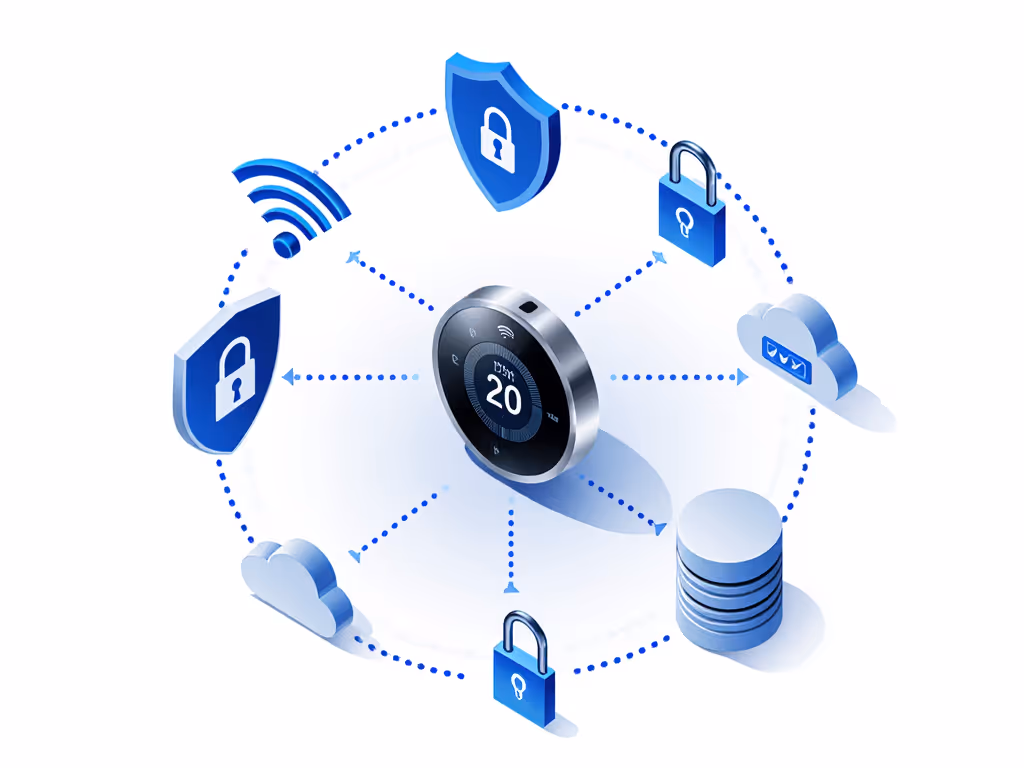
Privacy Disclosure and Data Flow: What You're Trading
Any thermostat with remote access collects occupancy data, heating/cooling runtimes, and temperature setpoints. For dorm buildings managed by a facility team, this data often flows to a third-party cloud platform for analytics and demand-response coordination. You deserve transparency.
Questions to ask before installation:
- Where does data live? (On-device, vendor's cloud, or a third-party SaaS?)
- Who can access it? (You, the landlord, a utility company, an analytics vendor?)
- How long is it retained? (Days, months, years, or indefinitely?)
- Can you export or delete your data? (Legally required in many jurisdictions, but not all vendors comply easily.)
- Is local scheduling guaranteed offline? (Or does the app require internet even for basic automation?)
For dorms specifically, the facility manager should publish a data-handling charter: "Occupancy data is used only to optimize HVAC schedules. Individual resident usage is not tracked or shared with third parties." If that charter doesn't exist, push back or choose a system with transparent local data storage.
Failure-Mode Walkthrough: What Happens When Things Break
Scenario 1: Internet down, temperature sinks to 50°F overnight.
Better thermostats fall back to a hard-coded safe default (usually 68°F or your last manual setting) and hold it until internet returns. Cheaper models may forget schedules entirely and revert to whatever schedule lived in the old system (if any). Mitigation: Test the offline fallback before relying on it. Power down your router and confirm the thermostat maintains your setpoint for at least 2 hours.
Scenario 2: Cloud server for your thermostat's vendor goes offline.
If remote app access is critical (e.g., adjusting from your parents' house), losing the vendor's cloud means you're locked to local manual control until the server returns. Some vendors have SLA guarantees (99.5% uptime); others do not. Mitigation: Avoid systems where the only way to change temperature is via the app. The wall unit must have manual buttons.
Scenario 3: HVAC equipment short-cycles or refuses to heat.
Misconfigurations (wrong heat pump polarity, incorrect staging settings, or a thermostat that demands auxiliary heat too aggressively) can damage compressors and waste energy. Worse, you may not notice until the heating bill arrives or the furnace stops working mid-January. Mitigation: Verify the thermostat's default settings before installation. Check the manual for heat pump mode, auxiliary heat lockout, and compressor short-cycle protection. Many property managers run a certified HVAC tech's validation for multi-unit rollouts.
Scenario 4: Thermostat firmware updates break compatibility.
A Google Home app or HomeKit update sometimes triggers thermostat compatibility issues. Remote control stops working, automations vanish, or the device reboots repeatedly. Mitigation: Check the vendor's release notes and forum posts before auto-updating firmware. Consider disabling auto-updates if you can manage it and update manually during daylight hours when comfort isn't critical.
Configuration Walkthrough: Local Schedules and Occupancy Detection
Once installed, a budget thermostat for college students should enable straightforward configuration. No HVAC technician degree required.
Step 1: Set Your Baseline Schedule
Most smart thermostats offer a simple 7-day template:
- Weekday occupied (e.g., 8 AM-10 PM): 72°F
- Weekday unoccupied (10 PM-8 AM): 68°F (setback saves energy)
- Weekend occupied (full day): 72°F
For dorm buildings, a facility manager might use occupancy sensors to automate this: if zero motion is detected in a common area for 30 minutes, the thermostat shifts to setback mode. Individual resident units could override manually.
Step 2: Enable Local Scheduling
Ensure the thermostat stores this schedule on-device, not just in the cloud. Open the thermostat's menu and verify "Local Schedule" or "Offline Mode" is active. Test by disconnecting WiFi and confirming the setpoint changes at the scheduled time.
Step 3: Integrate Geofencing (If Available)
Some budget models support "Home/Away" detection via smartphone location. For setup tips that actually save energy, see our guide to optimizing thermostat geofencing. This is convenient but cloud-dependent: if your phone can't check in, the system may not know you've left. Set geofencing as a bonus, not the core strategy. Lean on time-based schedules as your fallback.
Step 4: Validate Demand Response (Multi-Unit Buildings)
If your dorm or building participates in a utility's demand-response program, the facility team will configure a "curtailment mode." When the utility signals a peak-demand event, the thermostat raises the cooling setpoint (e.g., 74°F instead of 72°F) or delays heating for 1-2 hours. Residents should always have a manual override button. Confirm yours does, and practice it once.
Real-World Example: A Dorm Retrofit
Let's walk through a typical scenario: a student housing building with 50 units, each with a forced-air furnace and central AC, serving 2-4 occupants. The building manager wants to reduce energy costs and integrate with the property's smart-lock and lighting systems.
Dependency map:
- Each unit has 4 wires to the thermostat (no C-wire; neutral is buried in the wall).
- Building WiFi is stable but doesn't cover the roof HVAC zone (mechanical room).
- Facility manager needs occupancy-aware scheduling and remote visibility.
- Individual residents expect to override setpoints manually and via phone.
- Privacy concern: occupancy data must not be shared with landlord beyond facility ops.
Solution architecture:
- Install battery-powered smart thermostats in each unit (no C-wire retrofit needed).
- Deploy one Thread/Matter hub in the mechanical room as a local coordinator (optional but recommended for resilience).
- Pair with occupancy sensors in hallways and common areas (separate from thermostats, but linked via Thread or local hub).
- Configure a building-level schedule on the facility manager's cloud dashboard: setback occupancy thresholds, demand-response integration, and energy reports.
- Reserve unit-level control for residents: each thermostat's display and app override the building schedule whenever a resident manually adjusts setpoint.
- Store 7 days of data locally on each thermostat; upload summaries nightly to the facility manager's dashboard.
Failure-mode resilience:
- Internet down? Each unit's local schedule holds setpoint until WiFi returns. No cold nights.
- Demand-response event? The facility manager's dashboard sends a "preferred" setpoint, but residents can override with a single tap. Comfort is never hostage.
- Sensor failure? Individual thermostat reverts to time-based schedule.
Cost: ~ $150/unit × 50 = $7,500 for thermostats, plus $500-1,000 for a Thread hub and sensor network. Payback in 1-2 years via energy savings and utility rebates.
Energy Savings and ROI: Realistic Expectations
Marketing promises "30% energy savings!" Skepticism is warranted. In reality:
- Occupancy-based setback (lowering setpoint by 7°F during unoccupied periods) saves 10-15% on heating/cooling, a fact confirmed by utility studies.
- Demand-response participation saves 2-5% during peak periods (summer afternoon peak shaving or winter morning ramp).
- Learning algorithms (if not misconfigured) can save 5-10% by predicting occupancy and preheating/precooling efficiently.
- Combined effect: 15-25% savings are achievable in multi-unit buildings with good occupancy sensors and local controls.
For a dorm with a $10,000 annual heating/cooling bill, 20% savings = $2,000/year. A $7,500 retrofit pays for itself in under 4 years, and equipment often lasts 10+. Factor in utility rebates (many programs offer $50-150 per thermostat), and payback can drop to 2-3 years.
Reality check: Savings depend heavily on baseline occupancy, outdoor climate, and resident behavior. An all-female dorm with occupants present 18 hours/day will see modest savings; a co-working space with evening-only use can see 30%+.
Selecting a Thermostat: Decision Framework
If you're a renter with no C-wire and strict modification rules:
Best bet: Battery-powered smart thermostat with local scheduling and HomeKit or Google integration.
- Does it hold schedules offline? Yes.
- Can you install it yourself? Yes (swap out wall unit, no wiring changes).
- Will it work when WiFi fails? Yes (for temperature hold; remote override requires internet).
- Platform options: Google Home (most models), Alexa (growing), HomeKit (fewer, pricier).
- Budget: $150-250.
If you're a facility manager overseeing a multi-unit building:
Best bet: Wired smart thermostat system with local occupancy coordination and a Thread or local hub.
- Does it support occupancy sensors and group scheduling? Yes (if you choose a commercial platform).
- Can individual units override? Yes (manual or app override always available).
- Will it work if the cloud is down? Yes (local hub runs scheduling autonomously).
- Can you monitor 50 units from one dashboard? Yes.
- Privacy by default? Configurable; your data stays on-device and uploads summaries only.
- Budget: $80-150/unit + $1,000-2,000 for hub and monitoring platform.
If you want maximum resilience and privacy:
Best bet: HomeKit-compatible thermostat with a local Apple TV or HomePod mini hub.
- Does it sync automations locally? Yes (HomeKit stores all rules on the hub).
- Is data encrypted end-to-end? Yes.
- Does it work offline? Yes (as long as the hub is powered).
- Platform lock-in? Moderate (HomeKit is an ecosystem, but Matter support is coming).
- Budget: $200-400 for thermostat + existing Apple TV/HomePod (often $0 if you own one).
Actionable Next Steps
For individual dorm residents:
- Verify your rental agreement. Check if smart thermostat installation is permitted or if the landlord has a preferred brand. Many leases prohibit modifications without written approval.
- Inspect your current thermostat. Take a photo of the wiring behind it (note color and terminal labels: Rh, Rc, Y, G, W, O/B, etc.). Check if a fifth wire (C) is present.
- List your constraints: No C-wire? No rewiring? Budget cap of $200? Preference for HomeKit or Google? Write these down.
- Check your utility's rebate program. Search your local utility website for "smart thermostat rebate" or "time-of-use program." Some programs only approve certain models; buying an ineligible unit costs hundreds in lost rebates. Use our step-by-step utility rebate guide to find eligible models and submit claims.
- Join a local forum or Reddit community (r/HomeKit, r/Homeowners, etc.) and post your exact wiring configuration and constraints. Experienced folks can rule out incompatible models fast.
- Install and test offline mode. Once the thermostat is up, kill the WiFi and verify that temperature setpoint holds for 2+ hours. Confirm schedules execute correctly.
For facility managers and property operators:
- Define your data governance policy. Decide upfront: Will occupancy data leave the building? For how long? Who has access? Write this down and share it with residents.
- Pilot one unit or floor before rolling out to all 50. Test the occupancy sensors, demand-response integration, and remote override behavior. Fix issues in a controlled setting.
- Coordinate with your HVAC maintenance contractor. Have them validate the thermostat's default settings (heat pump polarity, auxiliary heat lockout, staging) before widespread deployment.
- Bundle with a local hub or edge device if you want scheduling to survive cloud outages. A $400 Thread hub for a 50-unit building pays for itself via resilience.
- Create a resident guide. Show occupants how to override the schedule, what demand-response curtailment means, and how to contact support if the thermostat fails.
- Measure and verify savings. Track energy use before and after installation. Report results to residents; transparency builds trust.
Closing: Comfort You Can Trust
A student dorm thermostat or any budget climate-control device worth its installation cost does one simple thing well: it keeps your space comfortable without requiring constant internet or a data-center vendor to decide whether you get to adjust the temperature. That may sound obvious, but it's rare.
The thermostat market is crowded with models that sound impressive but buckle under the weight of their own complexity or cloud dependencies. Your job is to map your constraints, test offline behavior, and choose a device that respects your privacy and your control. Map dependencies before buying. It's the only decision framework that consistently prevents buyer's remorse.
When your heating system is working, when schedules adapt to your occupancy, and when you can override with a single tap even if the internet is down, you've bought something worth having. That's the goal here, not buzzwords or vanity graphs, but comfort you can depend on.
Start with your wiring photo and your utility rebate eligibility. Everything else follows.
Related Articles