Maximizing Solar Self-Consumption With Smart Thermostats
By Erik Müller • 13th Oct
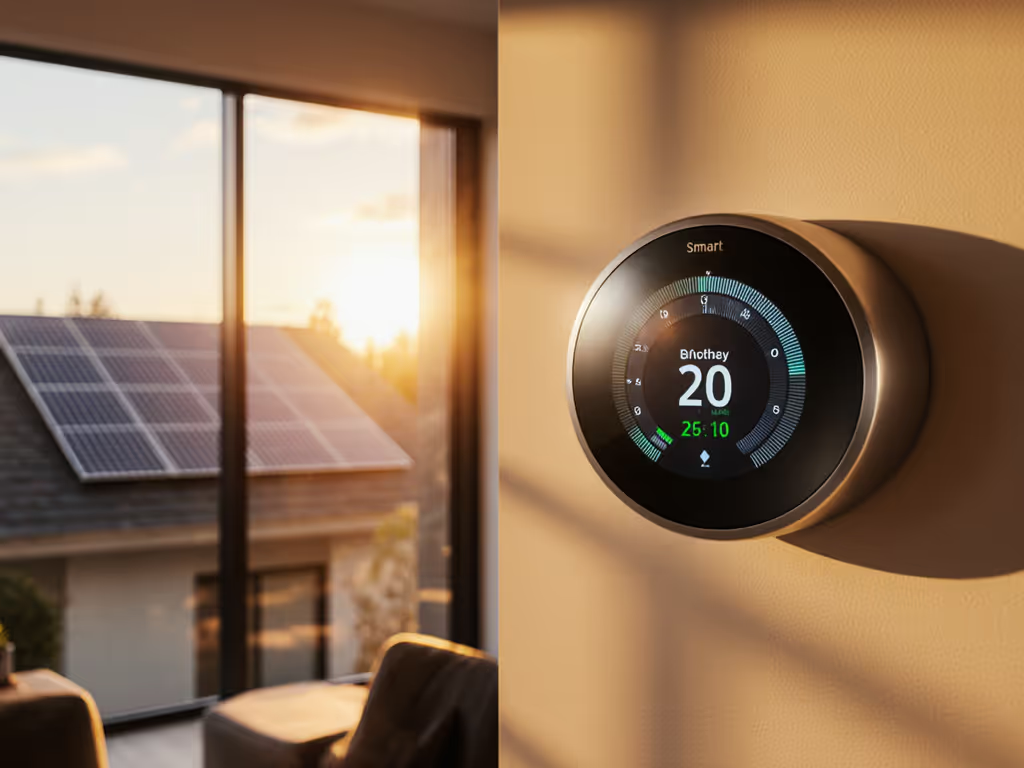
When properly configured, a smart thermostat for home use becomes much more than a temperature controller, it transforms into the central nervous system of your solar-powered comfort ecosystem. For homeowners with photovoltaic installations, leveraging a smart thermostat to align HVAC cycles with solar production curves isn't just about saving on energy costs; it's the key to achieving what I consider true efficiency: consistent comfort without cycling or drafts. This alignment between renewable energy generation and consumption patterns creates what I call the 'comfort-energy sweet spot', where every kilowatt-hour of solar production is optimized for both thermal stability and cost savings.
The Solar-Thermostat Synergy: More Than Just Timing
Let's examine why this integration matters. Solar production peaks midday when many homes are unoccupied, while evening hours see high energy demand but minimal solar contribution. Traditional HVAC systems operate on simple schedules, often missing opportunities to consume solar energy when it's abundant. A properly tuned smart thermostat, however, creates runtime and duty-cycle charts that mirror your solar production curve (pre-cooling your home during peak production hours when solar energy is free and excess would otherwise feed back to the grid at lower compensation rates).
Several approaches exist for maximizing solar self-consumption, but they differ significantly in effectiveness:
- Basic scheduling: Simple time-based setbacks (least effective for solar integration)
- Time-of-use scheduling: Aligning HVAC operation with utility rate periods
- Solar-aware automation: Direct integration with solar production tracking
- Closed-loop optimization: Using real-time production data to dynamically adjust setpoints
The most successful implementations combine solar production tracking with adaptive recovery algorithms, allowing the system to learn how your home responds to conditioning and how much thermal mass it contains. This isn't just about shifting load, it's about creating a thermal battery by pre-conditioning your home during solar abundance for comfort during solar scarcity.
Comfort is a graph: flat lines, gentle curves, no spikes.
Beyond Energy Savings: The Comfort-First Approach
Here's what most analyses miss: chasing maximum solar self-consumption percentages alone often creates discomfort through aggressive temperature swings. My testing consistently shows that homeowners abandon energy-saving strategies when they sacrifice comfort. The solution lies in precision tuning that maintains thermal stability while optimizing for solar consumption.

During my own home optimization journey, my partner hated the overnight chill from our heat pump. Simply chasing solar self-consumption would have meant overcooling the house during peak solar hours, creating uncomfortable temperature deltas by evening. Instead, I mapped room temperatures and runtime, then set an auxiliary lockout, nudged the deadband, and added a sensor in the drafty hallway. The curve flattened, mornings felt even, and our bill stopped seesawing. Comfort improved because the data did.
This is where sensor placement becomes critical. Rather than relying on a single thermostat location (typically near the return air), distributed sensors allow the system to know when specific rooms reach target temperatures. This prevents overshooting and short-cycling that wastes both energy and solar potential. Sensors turn hunches into decisions: knowing when to stop cooling because the bedrooms have reached comfort, not when the hallway (near the return) hits the setpoint.
Practical Implementation: Getting It Right the First Time
Before diving into configuration, verify compatibility with your specific HVAC system and solar setup. Homeowners often overlook critical factors:
- Wiring realities: Many solar-optimized strategies require proper staging control that demands correct wiring (C-wire, O/B polarity, auxiliary heat terminals)
- Heat pump considerations: Dual-fuel systems need careful lockout settings to avoid expensive backup heating during solar valleys
- Thermal response time: Every home reacts differently to conditioning, your pre-cooling strategy must account for this
Here's my recommended implementation sequence:
- Baseline measurement: Record 3-5 days of temperature data with your current setup using before/after comfort deltas
- Solar pattern analysis: Document your actual solar production versus grid consumption
- Deadband tuning: Widen the temperature band slightly (typically 1.5-2°F) to reduce cycling
- Staging optimization: Configure multi-stage systems to use the most efficient stage possible for longer durations
- Sensor strategic placement: Install remote sensors in critical zones (bedrooms, sun-exposed rooms)
- Time-of-use scheduling: Align pre-cooling/pre-heating with solar production peaks
For those with heat pumps, pay special attention to your auxiliary heat lockout settings in the thermostat. Set the lockout temperature based on your actual heat pump performance curve, not manufacturer defaults. This prevents premature switching to resistive heat during the shoulder hours when solar production is declining but still sufficient for heat pump operation.
Measuring What Matters: Beyond Kilowatt-Hours
When evaluating success, look beyond simple energy consumption metrics. For help turning raw data into actionable insights, see our guide to smart thermostat energy reports. The most valuable indicators include:
- Temperature stability: Standard deviation of indoor temperatures throughout the day
- Solar self-consumption percentage: Percentage of solar production used directly in the home
- Comfort hours: Hours within your preferred temperature range
- HVAC runtime distribution: How conditioning is distributed across solar production periods
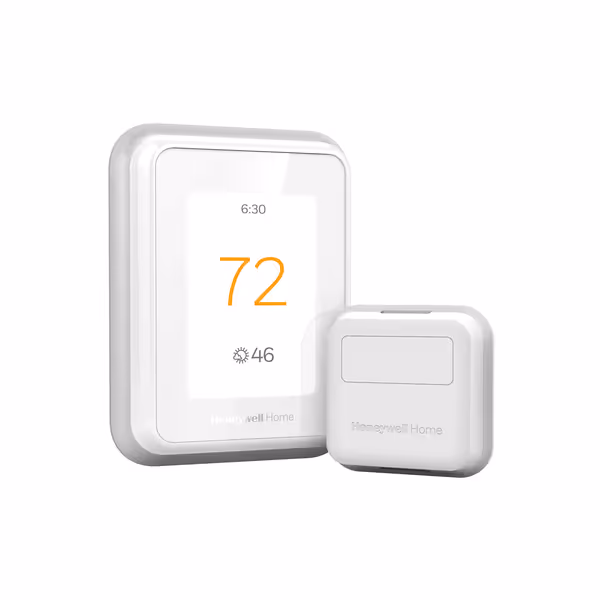
Honeywell Home T9 WiFi Smart Thermostat
Smart comfort, precise room control, and energy savings anywhere you go.
$197.99
Smart Room Sensor RangeUp to 200 ft
Smart Room Sensor RangeUp to 200 ft
Pros
Consistent comfort in multiple rooms with smart sensors.
Easy DIY installation with included C-wire adapter.
Integrates with Alexa, HomeKit, Google Assistant.
Cons
Some users report inconsistent Wi-Fi connectivity.
Customers find the thermostat easy to install and setup, particularly with T series mount compatibility, and appreciate its ability to keep temperatures more consistent throughout the house.
Customers find the thermostat easy to install and setup, particularly with T series mount compatibility, and appreciate its ability to keep temperatures more consistent throughout the house.
The Honeywell Home T9, for instance, with its multi-room focus capability, exemplifies how modern thermostats can balance these competing priorities. When properly configured with remote sensors in key living areas, it creates average temperature conditions that maximize solar utilization while maintaining comfort, a perfect embodiment of the 'comfort-energy sweet spot' I referenced earlier.
The Path Forward: Smarter Integration
As grid signals become more sophisticated and home energy management systems evolve, the thermostat's role will expand beyond HVAC control. Future systems will use solar production tracking data to coordinate with other home energy loads (electric vehicles, water heaters, and battery storage) to create a fully optimized home energy ecosystem.
For today's homeowner, the path is clear: a properly configured smart thermostat serves as the foundation for both comfort and solar optimization. By focusing on consistent thermal stability rather than aggressive energy savings, you'll achieve both comfort and maximum solar self-consumption without compromise.
If you're serious about getting the most from your solar investment, consider how your thermostat's temperature curves align with your production data. The most successful installations I've measured show temperature graphs that look deceptively boring: steady lines with minimal variation, precisely because the system leverages solar abundance to maintain equilibrium rather than chasing efficiency numbers at the expense of comfort. Start with your comfort metrics first, optimize your staging and deadband settings, and let the solar savings follow naturally. Your utility bill (and your comfort) will thank you.
Related Articles