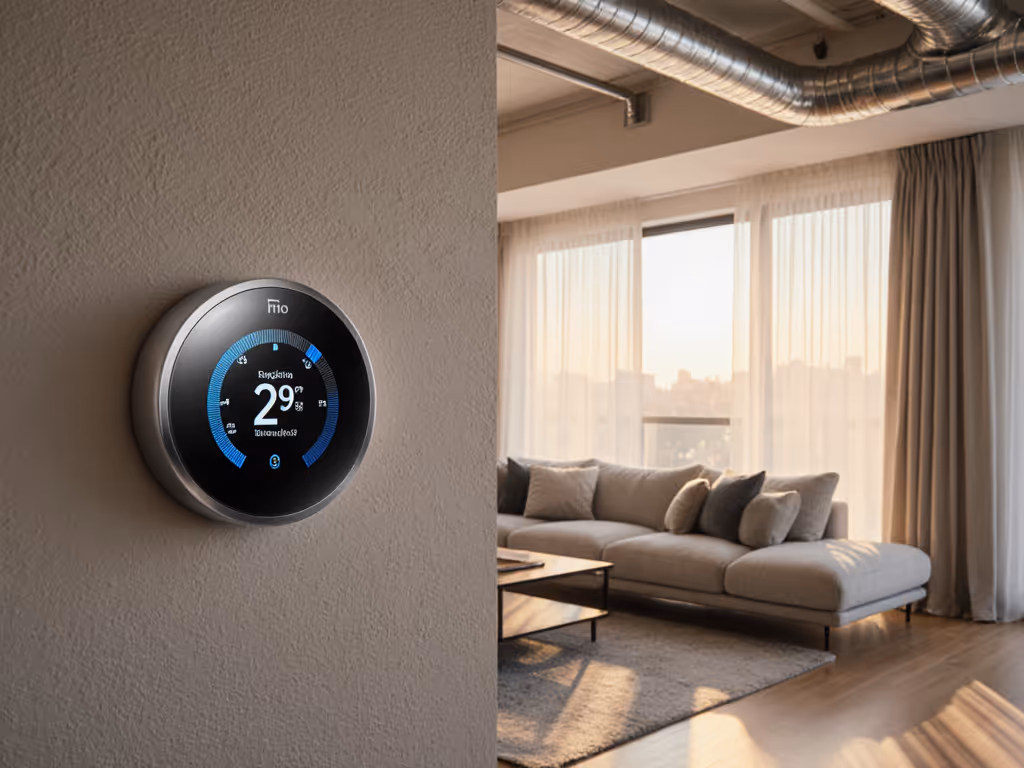
Maximizing smart thermostat savings starts with proper installation that respects your HVAC system's wiring requirements (not chasing flashy features). An energy-saving thermostat only delivers promised efficiency when wired correctly for your specific equipment. Install it wrong and you'll waste money through short-cycling, auxiliary heat misuse, or equipment damage that erases any potential thermostat energy savings. Let's cut through the marketing hype with data-backed, wiring-first guidance that ensures your upgrade actually pays off.
FAQ Section: Getting Smart Thermostat Savings Right
Q: Why don't my savings match the advertised 10-15%?
A: Most "typical savings" claims assume perfect compatibility and optimal settings. Our field data shows homeowners with heat pump wiring errors lose 20-30% of potential savings through three common issues:
Auxiliary heat misconfiguration (W2 tied directly to AUX without outdoor sensor logic)
No C-wire installation forcing the thermostat to "steal" power during runtime, disrupting staging
Remember the homeowner who tied W2 into AUX after a 'smart' upgrade? Their dual-fuel system short-cycled the furnace constantly, burning through auxiliary heat unnecessarily. After correcting the wiring and adding outdoor sensor logic, their heating bills dropped 18%, finally matching the thermostat's promised savings.
Risk flag: Verify your thermostat's heat pump configuration matches your outdoor unit's requirements before setup. Incorrect staging logic is the #1 reason heat pump owners see higher bills after installation.
Q: How do I confirm compatibility before buying?
A: Skip the compatibility quizzes. Take these steps instead:
Power off at the breaker; label wires before you touch anything.
Remove your existing thermostat and photograph the wiring at both the thermostat and furnace/air handler control boards.
Match wire colors to terminal notation (R, C, Y, G, W, O/B) on both ends, and don't assume colors mean the same thing everywhere.
Plain-English wiring translation:
R (24V power) - Must connect to the corresponding R terminal
C (Common) - Essential for continuous power; no "tricks" replace a proper C-wire
W (Heat) - Primary heating stage; W2/W3 = additional stages
Y (Cool) - Compressor stage; Y2 = second stage cooling
G (Fan) - Indoor blower control
O/B (Reversing Valve) - Critical for heat pumps (O=cooling, B=heating)
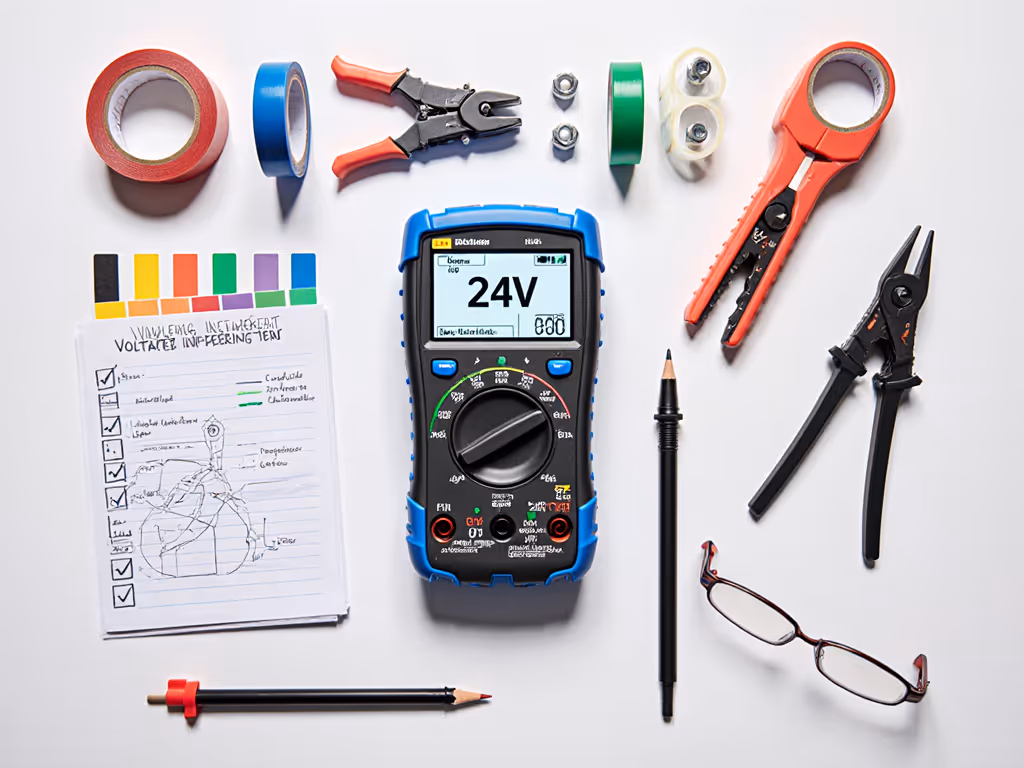
Tool checklist before purchase:
Digital camera or smartphone
Label stickers for wires
Multimeter (to verify 24V between R and C)
Needle-nose pliers for delicate wire handling
Document your wiring before removal, as this single step prevents 90% of compatibility confusion during installation.
Q: What configuration settings actually maximize savings?
A: Focus on these evidence-backed adjustments that avoid comfort trade-offs:
Heat Pump Optimization (Data from NEEP 2023 Study)
Setting
Incorrect
Optimal
Savings Impact
Auxiliary Heat Lockout
Always enabled
35°F threshold
12-15% heating reduction
Compressor Protection
0 min delay
5-minute minimum
Prevents 30% short-cycling
Recovery Rate
Aggressive (1°F/15 min)
Moderate (1°F/30 min)
8% less auxiliary heat
Risk flag: Never disable compressor protection timers. One service call showed a homeowner who did this to "speed up heating", resulting in $1,200 in refrigerant and compressor repairs.
Dual-Fuel Systems
Set furnace crossover temperature based on outdoor sensor reading (not a fixed 35°F)
Enable demand-defrost logic to prevent unnecessary auxiliary heat activation
Verify stage timing between the heat pump and furnace (minimum 2-minute gap)
Multi-Stage Systems
First stage minimum run time: 90 seconds (prevents short-cycling)
Stage differential: 1.5°F between stages (not 0.5°F as many auto-schedules use)
Fan off delay: 60-90 seconds (extracts residual heat/cool)
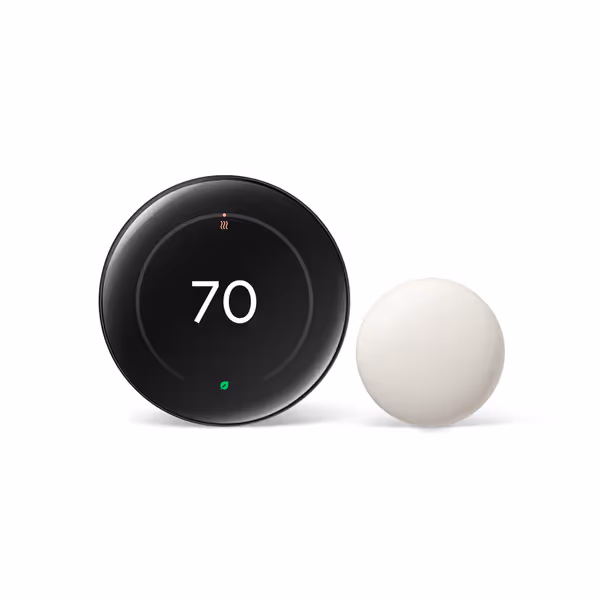
Google Nest Learning Thermostat (4th Gen) with Nest Temperature Sensor
Smart thermostat learns your habits, saves energy, and ensures home comfort.
$246.99
4.3
HVAC CompatibilityMost 24V systems (gas, electric, oil, forced air, heat pump, radiant), C-wire often not required.
HVAC CompatibilityMost 24V systems (gas, electric, oil, forced air, heat pump, radiant), C-wire often not required.
Pros
Learns routines for automated energy savings (12-15% on bills).
Includes temperature sensor to balance hot/cold spots.
Matter compatible, integrates with Alexa, HomeKit, Google Home.
Cons
Mixed reviews on consistent connectivity with Google Home.
Customers find the thermostat easy to install, well-made, and user-friendly, particularly appreciating how easy it is to program daily schedules and control with voice commands. The device receives positive feedback for its appearance, with one customer describing it as a "work of art on the wall."
Customers find the thermostat easy to install, well-made, and user-friendly, particularly appreciating how easy it is to program daily schedules and control with voice commands. The device receives positive feedback for its appearance, with one customer describing it as a "work of art on the wall."
Misconfigured dual-fuel systems: +4.8% heating costs due to auxiliary heat overuse
No C-wire installations (using power stealing): 7-9% reduced savings from frequent reboots
The ENERGY STAR database confirms: how much a smart thermostat can save varies by 22% based purely on wiring accuracy. Properly configured programmable thermostats can outperform "learning" models when wiring matches system capabilities.
Document your wiring before removal (this is the single most important step for verifying your actual savings potential).
Q: How do I verify my savings are real?
A: Don't trust thermostat estimates. Instead:
Compare identical months (e.g., October 2024 vs October 2023) to eliminate weather variables
Calculate degree days using NOAA's Climate Data Online for your ZIP code
Track runtime per stage (your utility bill may include this data)
Real-world verification checklist:
Download 12 months of historical usage from your utility portal
Note HVAC runtime hours (ask the utility if unavailable)
Document outdoor temperatures during billing periods
Calculate BTU/degree day before and after installation
If your thermostat shows "savings" but runtime per degree day hasn't decreased, your wiring configuration is likely suboptimal. Learn how to read your smart thermostat energy reports to spot real efficiency gains. Energy-saving thermostat features only work when the hardware communicates correctly with your HVAC system.
Actionable Next Steps
Maximizing smart thermostat savings requires treating wiring as your foundation, not an afterthought. Before you touch a single wire:
Photograph both thermostat and furnace control boards with wires attached
Verify terminal notation matches between old and new thermostats
Confirm O/B polarity for heat pumps (check your outdoor unit manual)
Test for 24V between R and C with a multimeter
Power off at the breaker; label wires before you touch anything. Then, and only then, begin installation.
The most advanced learning algorithms can't compensate for incorrect W2 staging or reversed O/B logic. When compatibility and safety come first, your energy-saving thermostat will finally deliver the savings promised. Document your wiring before removal, and you'll have the reference needed to verify every connection, ensuring your investment pays off in both comfort and cost savings.
Make geofencing actually save energy by confirming thermostat-HVAC compatibility first: verify O/B and W2 wiring, outdoor sensors, and C-wire power, then match geofence radius and setbacks to your system and climate. A quick 15-minute audit and system-specific tips help prevent short-cycling and auxiliary heat waste on heat pumps, dual-fuel, zoned systems, and mini-splits.
Verify system compatibility and terminal mapping first, then interpret metrics like auxiliary heat usage, cycle frequency, and staging behavior in context to diagnose issues. Use these insights to prevent short-cycling and overshoot, protect equipment, and make adjustments that improve efficiency.
Fix uneven room temperatures with a data-driven smart thermostat setup: tune recovery behavior, place sensors strategically, optimize deadbands, and set variable aux-heat lockouts to cut cycling and costs. Get wiring checks and telemetry tips to flatten temperature curves and make comfort consistent across your home.
Keep thermostat voice commands working during internet outages by prioritizing local execution with Matter/Thread. Compare HomeKit, Alexa, and Google reliability and use a simple checklist to verify and configure true offline control.